Quickstart#
Installation#
The recommended way to install GWeatherRouting is via Flatpak from Flathub:
flatpak install flathub org.gweatherrouting.gweatherrouting
Once installed, you can run it with:
flatpak run org.gweatherrouting.gweatherrouting
You can also browse the app page on Flathub.
Alternative: AppImage#
You can download the latest AppImage from GitHub releases. After downloading, make it executable:
chmod +x GWeatherRouting-linux-x86_64.AppImage

Alternative: Windows#
Download the latest Windows portable ZIP, extract it, and run GWeatherRouting.bat (or GWeatherRouting-noconsole.vbs to hide the console window).
Alternative: From source#
You can install gweatherrouting from source, following the instructions in the repository README.md.
First run#
During the first run, gww will ask you to download some files:
Base world countourn lines
OpenSeaMap data: contains lighthouses, buoys, and other maritime signals taken from the openseamap project
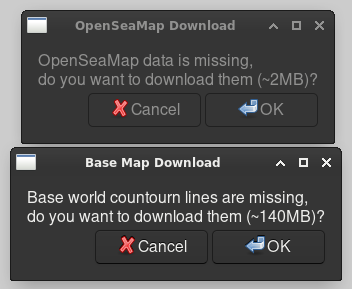
After these download, gww is ready to be used.
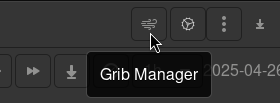
Downloading a grib file#
Click on the grib manager button
Select a region, right-click and download
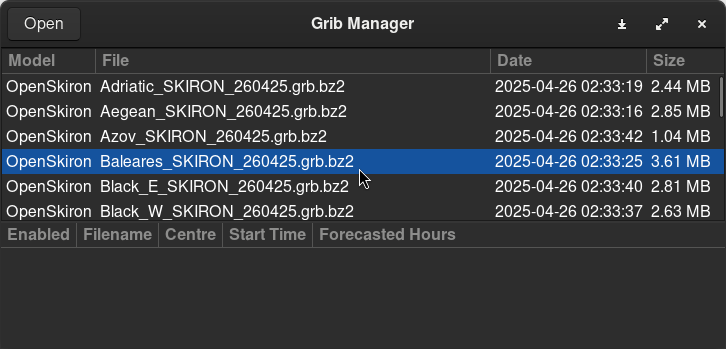
After closing the grib manager, the grib file is loaded into the map. You can freely inspect the wind for different time slots.
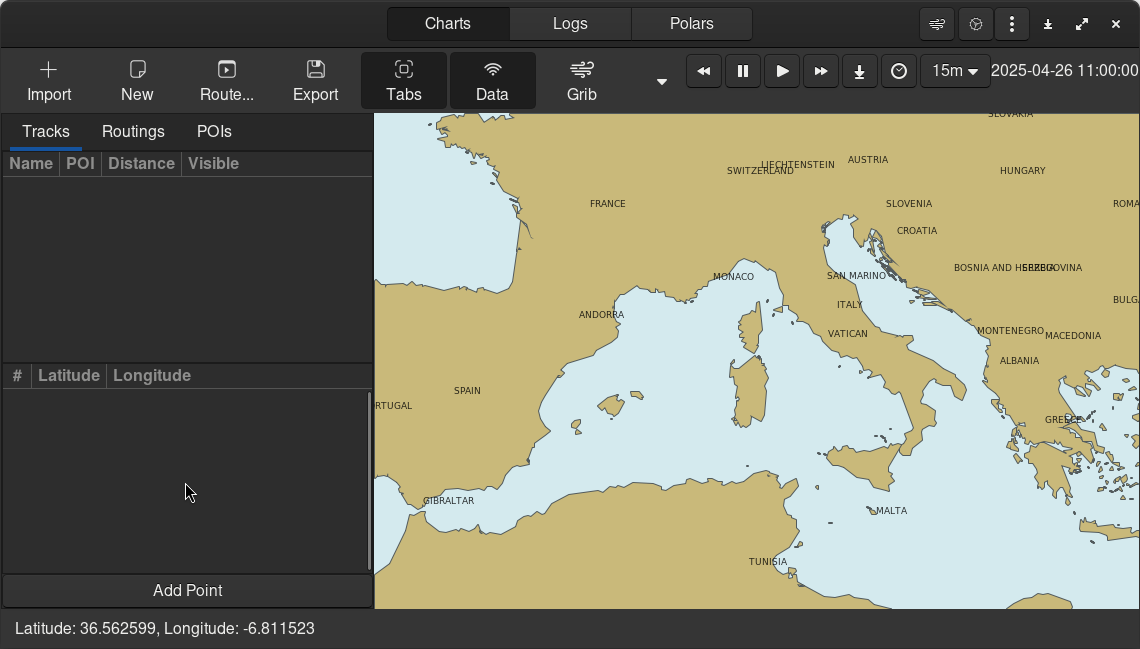
Track creation and editing#
To create a track and add a point to it, right-click in a point of the map and press “Add to Track”. This will create a new track, adding the clicked point to it.
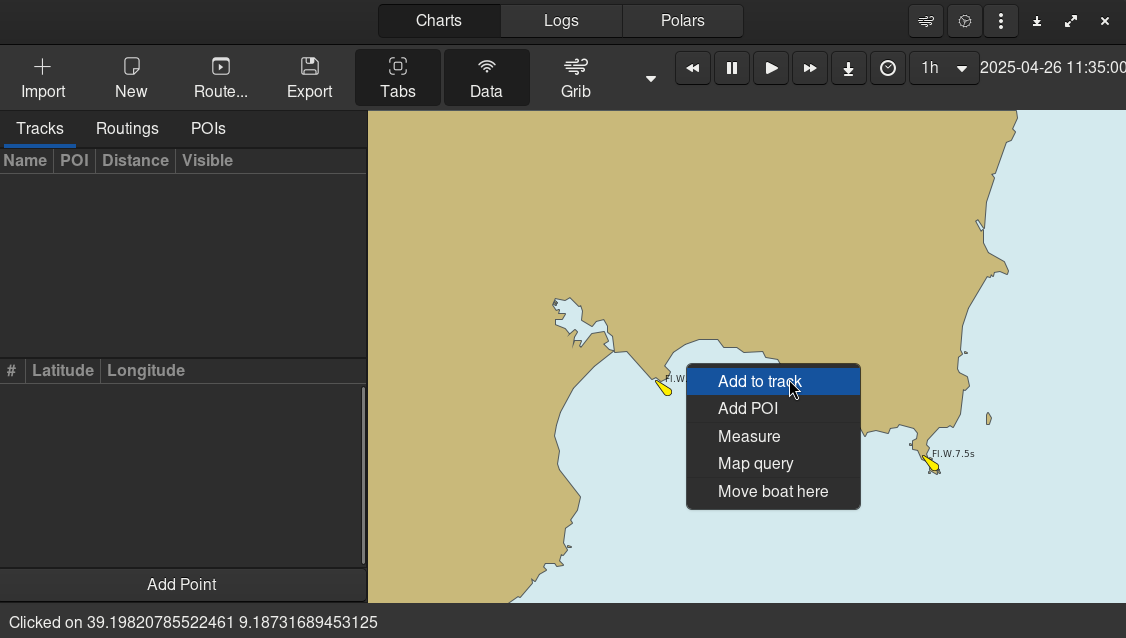
In order to add new track points, right-click on another point of the map and press “Add to Track” as before. On the left pane, you will se the list of the tracks, and the list of track point for each track. You can:
Remove or Export tracks, by right-clicking on a track
Remove, Reorder or Duplicate a track point, by right-clicking on a track point

Create a routing#
Now that we have a track and a grib, creating a routing is very easy. Just click on “Route…” button. Select a polar file, tune other settings and press run.
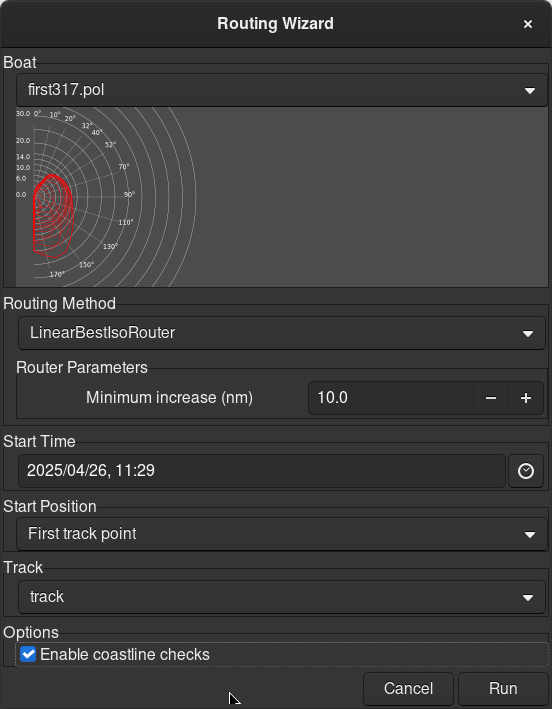
The software will calculate the isochrones tree, finding the fastest route. After calculation, the route is displayed in red. The green point on the routing shows the boat position at different times. You can navigate the simulation through time, using time control’s buttons.